How to Make a Voxel Engine Game in Unity
Voxel-based games are popular for their blocky, retro look and the dynamic, destructible environments they offer. Unity, being a flexible and powerful game engine, is a great platform for building voxel engine games. This article outlines the step-by-step process of how to create a voxel engine game in Unity, detailing voxel generation, chunking, rendering optimization, and user interaction. By the end of this guide, you'll have a good foundation to start your own voxel game.
- Setting Up the Environment
- Creating the Voxel Data Structure
- Implementing the Chunking System
- Voxel Mesh Generation and Optimization
- Handling Player Interaction with Voxels
- Advanced Features: Lighting, Physics, and LOD
Setting Up the Environment
The first step in building a voxel engine game in Unity is setting up your development environment. Start by installing the latest version of Unity from the Unity Hub, ensuring that you have the necessary modules like Visual Studio for scripting and the Unity Editor for creating assets and game objects. Once your development environment is ready, create a new 3D project in Unity and set up a basic scene with a camera, lighting, and a ground plane for testing.
After setting up the scene, configure the project settings. Since voxel games often require large worlds, you'll want to ensure that the physics and rendering settings are optimized for performance. Disable unnecessary physics calculations for objects that won't be interactable and set up a low frame rate cap if needed. This will help avoid bottlenecks as you start adding voxel geometry to the scene.
Finally, create folders in your project for organizing scripts, prefabs, materials, and textures. Keeping everything organized from the start will save you time later, especially as the complexity of the project grows. You’ll be working with various assets like 3D meshes, textures, and scripts for generating and rendering the voxel world.
Creating the Voxel Data Structure
The core of a voxel engine lies in its data structure. In Unity, voxels are typically represented as blocks in a 3D grid. Start by creating a simple script in C# to define the voxel structure. A voxel can be represented by a class or struct that stores information such as position, type (e.g., dirt, stone, grass), and other properties like solidity or transparency. The simplest voxel structure might include only the position and block type, but more complex systems can store additional attributes for each voxel.
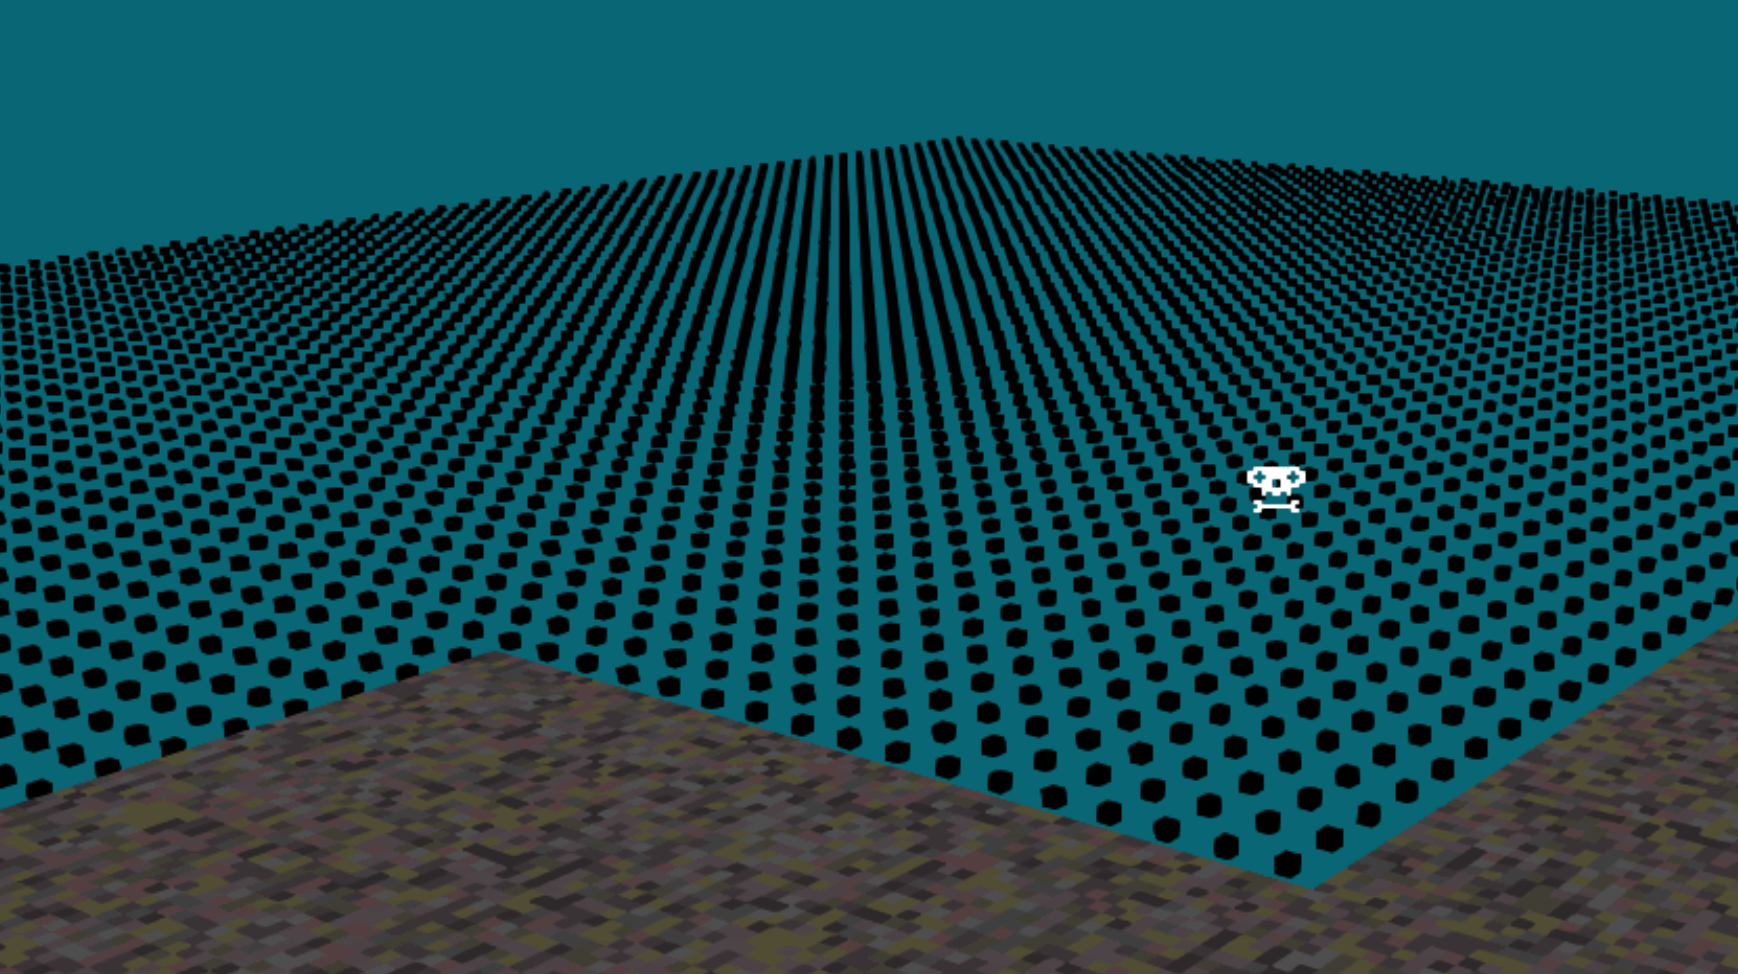
Next, create a 3D array to store your voxels. This array will hold information about every voxel in your world. For example, a 3D array of size [16, 16, 16] represents a chunk of 4096 voxels. Each voxel can be referenced by its x, y, and z coordinates within this array. You can initialize the array with default voxel types or generate voxels procedurally based on noise functions for terrain generation.
The voxel data structure is fundamental for many operations like rendering, collision detection, and gameplay interactions. Consider optimizing the structure to handle large worlds by using techniques like chunking, where the world is divided into manageable sections (chunks) that can be loaded and unloaded dynamically to save memory and processing power.
Implementing the Chunking System
One of the most critical systems in a voxel engine is the chunking system. Since rendering and managing millions of individual voxels is inefficient, the world is divided into smaller sections called chunks. Each chunk is a 3D array of voxels (e.g., [16, 16, 16]) that can be processed, rendered, and updated independently. Start by creating a chunk class in Unity that holds a 3D array of voxels and manages their state.
The chunk system allows the voxel engine to load, generate, and unload parts of the world dynamically as the player moves around. When the player moves close to a new chunk, it is generated or loaded from memory, while distant chunks can be hidden or unloaded to save resources. Use Unity’s C# coroutines or threading to handle chunk loading asynchronously, preventing frame drops and maintaining smooth gameplay.
Chunks can also be used for efficient voxel rendering. Instead of rendering each voxel individually, the chunk system allows you to group voxels into larger meshes, reducing the number of draw calls. You can also implement frustum culling, where only chunks visible within the camera’s view are rendered, further improving performance.
Voxel Mesh Generation and Optimization
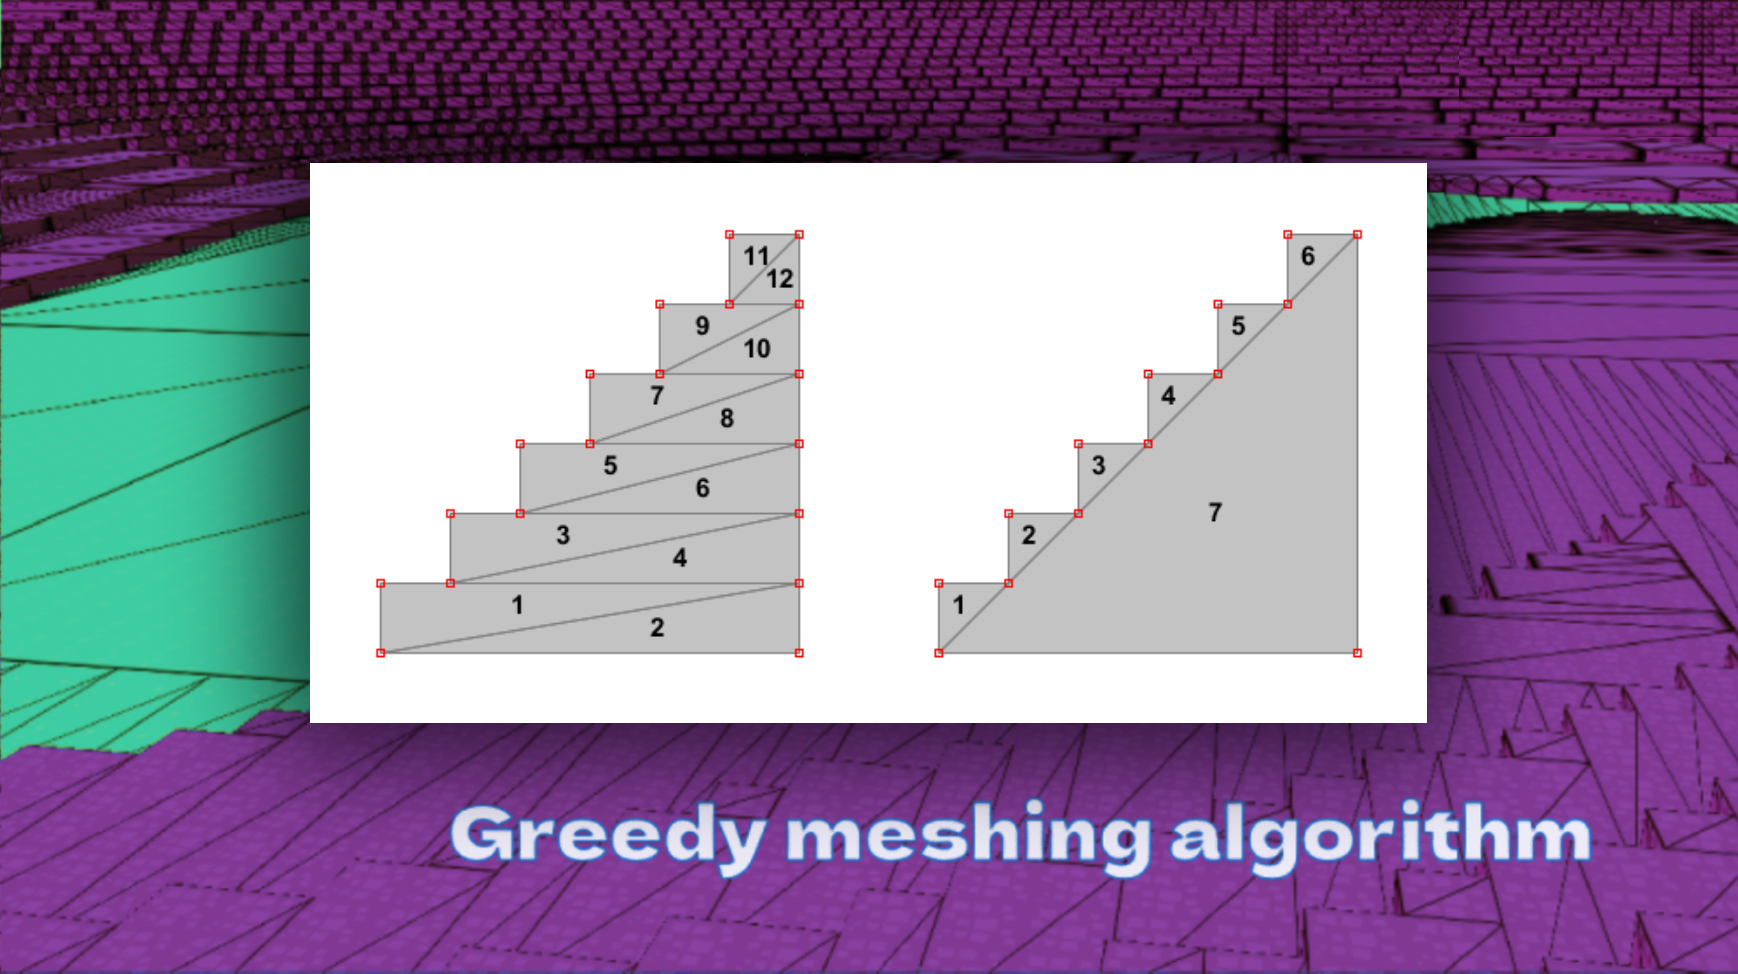
Once your chunking system is in place, the next step is to generate the meshes that will be used to render the voxel world. Unity’s `Mesh` class allows you to create custom 3D meshes by defining vertices, triangles, and normals. For each voxel, create a mesh for its visible faces (i.e., the faces that are not blocked by neighboring voxels). This technique is known as greedy meshing, where you only generate geometry for visible surfaces, significantly reducing the polygon count.
To implement mesh generation, loop through each voxel in a chunk and check if its neighboring voxels block any of its faces. For example, if a voxel has a neighboring voxel on its left, you can skip generating the left face. This reduces the overall vertex count and minimizes overdraw, where hidden faces are unnecessarily rendered. Use Unity's `MeshFilter` and `MeshRenderer` components to apply the generated mesh to a game object in the scene.
For further optimization, consider combining adjacent voxel faces into larger quads. This is particularly useful in flat surfaces like the ground, where many voxels share the same face alignment. This technique reduces the number of individual triangles and vertices, improving performance. Additionally, use texture atlases to group textures for different voxel types, minimizing material switches during rendering.
Handling Player Interaction with Voxels
Player interaction is a key part of voxel games, and Unity provides several tools for handling input and manipulating voxels. First, implement basic player controls using Unity’s character controller or physics-based systems for movement. You can also use raycasting to detect which voxel the player is looking at or interacting with. Unity’s `Physics.Raycast` method allows you to shoot a ray from the camera or player’s position and detect which voxel is hit.
Once you can detect which voxel the player is targeting, implement actions such as placing, removing, or modifying voxels. For example, if the player clicks the left mouse button, you can remove the targeted voxel, and if they click the right mouse button, place a new voxel. Update the voxel data structure accordingly and regenerate the chunk’s mesh to reflect the changes in the world.
For more advanced interaction, you can implement inventory systems where players can choose which type of voxel to place, or tools that allow for faster block destruction. Unity’s event system can be used to create a UI for inventory management, and the voxel interaction system can be expanded to include special blocks with unique behaviors, such as water or light-emitting voxels.
Advanced Features: Lighting, Physics, and LOD
Once the basic voxel engine is functional, you can start adding advanced features to enhance the gameplay experience. One of the most important features in voxel games is dynamic lighting. Implementing a basic lighting system involves propagating light values through the voxel grid. Each voxel can store a light level, and light sources such as torches or the sun can emit light that spreads through the world. For smoother lighting, consider using ambient occlusion or shading techniques to add depth and realism to the scene.
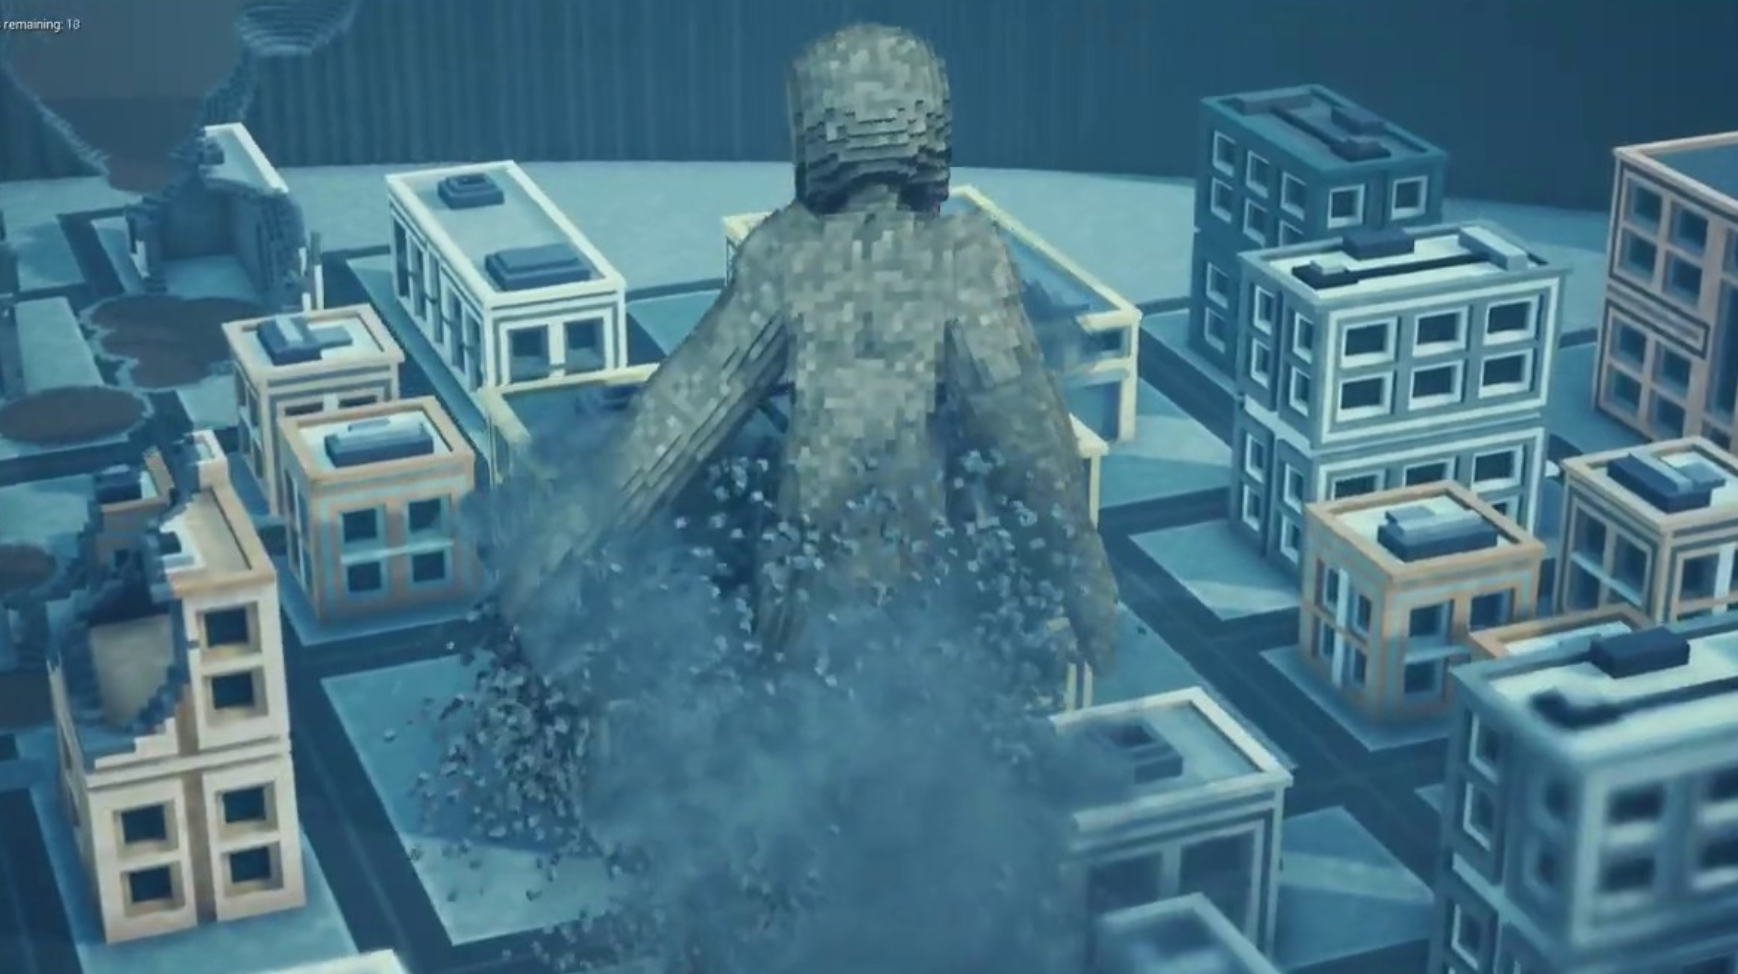
Voxel-based physics is another exciting feature to add. You can use Unity’s physics engine to simulate gravity and collisions for voxel-based objects like falling blocks or interactable items. Additionally, destructible environments, where chunks of the world fall apart or explode, can be implemented using voxel physics. Be mindful of performance, as simulating large numbers of physics-enabled voxels can be computationally expensive.
Lastly, implement a Level of Detail (LOD) system to manage performance as the player moves through the world. In large voxel worlds, it’s inefficient to render every voxel at full detail, especially for distant objects. Use LOD techniques to reduce the level of detail for far-away chunks by simplifying their meshes. Unity’s built-in LOD system can be adapted for voxel games by creating lower-resolution meshes for distant chunks, reducing the polygon count and improving rendering performance.
Conclusion
Creating a voxel engine game in Unity is a rewarding challenge that combines procedural generation, optimization, and player interaction. By following this guide, you now have a foundational understanding of how to build a voxel world, manage chunks, optimize meshes, and implement advanced features like lighting and physics. With practice, you can extend this system to create vast, dynamic voxel worlds with complex gameplay mechanics. Unity’s flexibility and power make it an ideal platform for building voxel games, and the possibilities for customization are nearly endless. Good luck with your project!

 Donate

