How to Build a Voxel Engine
Building a voxel engine involves multiple steps, from basic rendering to performance optimizations. Below is an overview of the key steps, including specific optimizations to ensure the engine runs efficiently.
Step 1: Basic Voxel Rendering
Start by setting up the core rendering engine to display voxels (blocks). Each voxel can be represented as a cube consisting of vertices, edges, and faces. Using a simple 3D grid, you can define each voxel’s position and render it using OpenGL or DirectX.
Step 2: Chunk Management
To handle large worlds efficiently, split the world into chunks, which are small sections of the voxel grid. Each chunk is a set of voxels (e.g., 16x16x16 blocks) that can be loaded or unloaded depending on the player’s position, helping reduce memory and processing overhead.
Step 3: Level of Detail (LOD)
Implement LOD to improve performance by reducing the detail of distant chunks. Instead of rendering every block in the distance, render lower-resolution versions of far-away chunks. As the player moves closer, higher-resolution models of the chunks are loaded.
Step 4: Lighting and Shadows
Integrate basic lighting to give depth and realism to your voxels. Ambient occlusion and shadow maps can add realism by shading areas based on light exposure. Dynamic lighting can also be used to simulate day-night cycles or light from various in-game sources.
Step 5: Optimizations
Optimizing a voxel engine is crucial to ensure smooth performance, especially in large, complex worlds. Below are five specific optimizations you can implement:
Optimization 1: Mesh Culling
Only render the faces of a voxel that are visible to the player. If a voxel is surrounded by other voxels on all sides, there’s no need to render it. This significantly reduces the number of polygons the engine needs to draw.
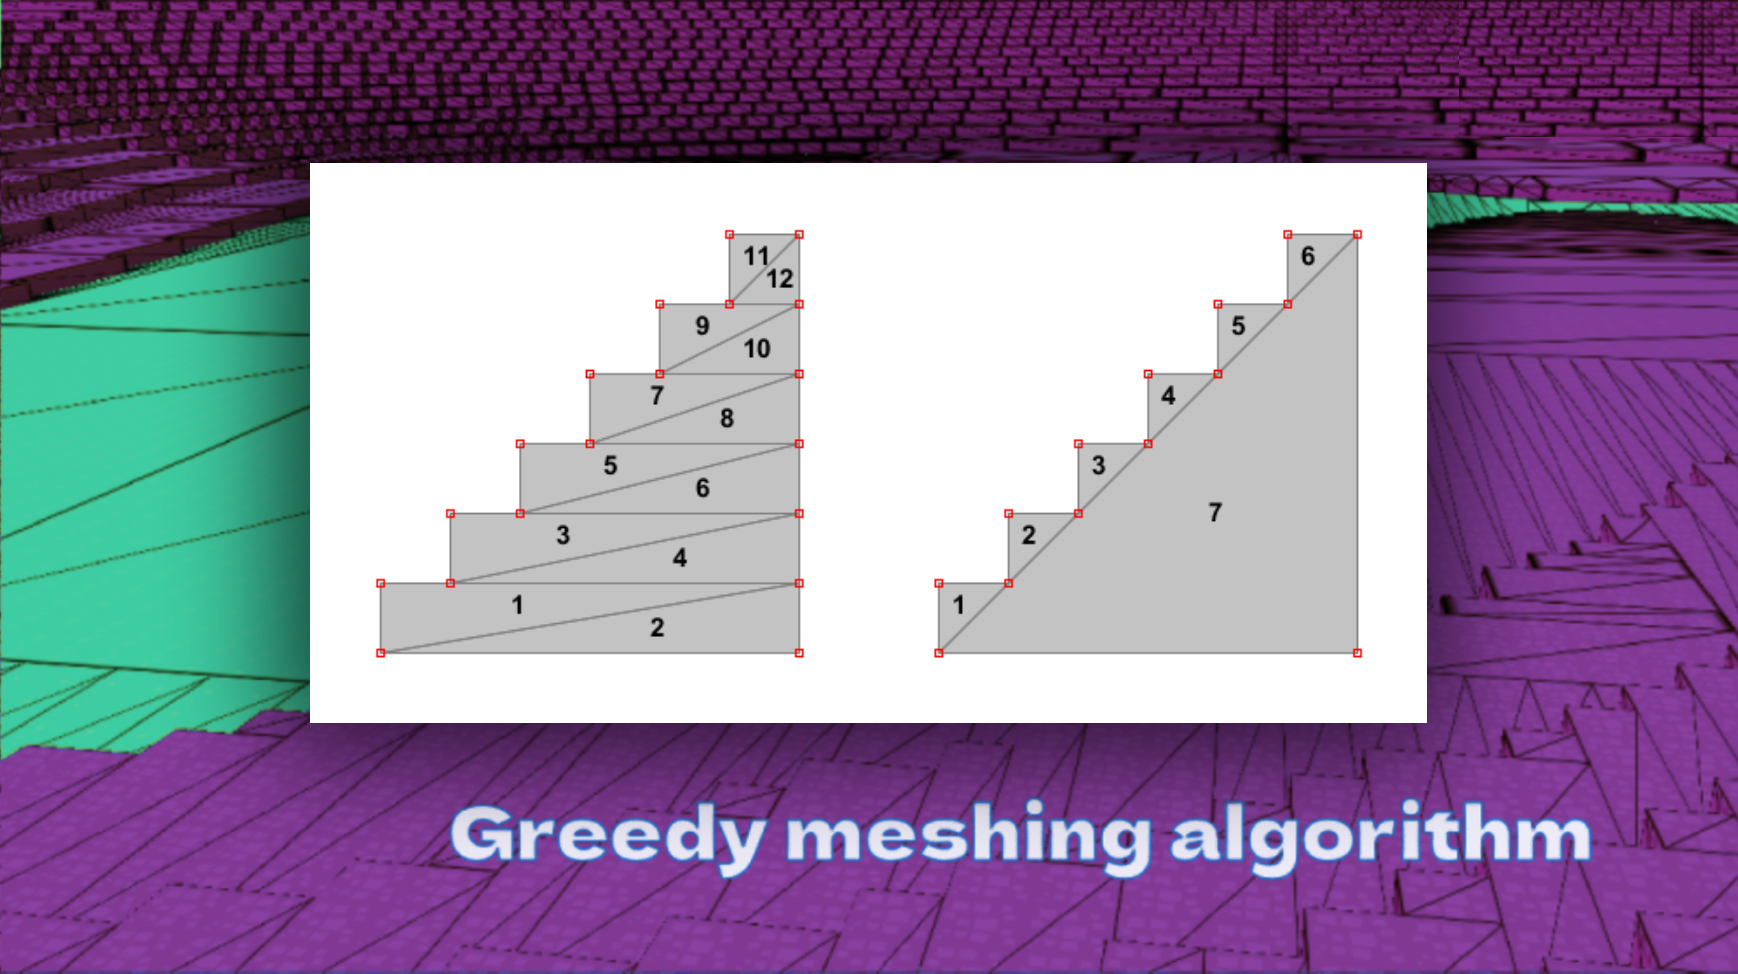
Optimization 2: Greedy Meshing
Greedy meshing combines adjacent voxels of the same type into larger meshes, reducing the number of individual faces that need to be rendered. This optimization reduces the overall draw calls and vertex processing.
Optimization 3: Frustum Culling
Frustum culling ensures that only chunks within the player’s field of view are rendered. Any chunk outside the camera’s view (i.e., outside the viewing frustum) is skipped during the rendering process, improving performance.
Optimization 4: Octrees for Spatial Partitioning
Octrees are a spatial partitioning method used to organize voxels in 3D space. They divide the world into hierarchical sections, allowing quick access to chunks that need to be rendered while skipping empty or far-away areas.
Optimization 5: Multithreading
By using multithreading, you can offload heavy tasks such as chunk generation, lighting calculations, or physics simulations to separate threads, reducing lag in the main render loop. This ensures a smoother and more responsive gameplay experience.
In other words...there are no shortcuts. And this is exactly why I created this voxel tutorial site. To help game developers by exposing fundamental principles behind voxel engine optimizations.
Creating a voxel engine is an incredibly complex problem. Even if you watch every single YouTube tutorial about how to make a voxel engine, you might still feel lost. You might understand separate optimizations and shader rendering techniques like instancing for example. But correctly putting together a voxel engine in a way that doesn't hinder performance is a completely different matter.
Optimizations are at the heart of fast voxel engine. Making your voxel game run fast requires a combination of several tricks working together. It's essential to have some basic computer programming background before going on a journey of making your own voxel engine.

 Donate

